How do you make soap?
Did you know there is more than 1 way to make soap? When we first started a couple of years ago we didn't know that either. There are really 3 options, and it depends on how involved you want to get.- Melt and Pour - great for a weekend family activity
- Cold Process - less hands-on time but a longer cure time
- Hot Process - most involved but shorter cure time
Melt and Pour
Melt and pour is a great way to start if you are wanting a simple activity for yourself or your family. It is as simple as it sounds like a hamburger helper boxed dinner. You can pick up everything you need at any craft store. It is even easier when online stores like www.brambberry.com (which we recommend) have kits that include every ingredient and tool you need. This is also the most cost-effective as you won't have leftover ingredients. Also, the safest method because you don't have to deal with lye.
Check out Bramble Berry's Succulent kit and Cashmere kit.
You might remember from our first email that Josh gave me a soap kit as a gift. He went through the trouble of researching and picking each ingredient and tool himself. He didn't know you can get a ready-made kit.
Cold Process
Cold and hot process soaps are a couple of steps more advanced than melt and pour, but let you customize every detail. Both hot and cold process involve mixing individual fats and oils together, melting them, and then adding your lye/water mix.
You then blend everything together until it comes to trace, which means you can see lines in the liquid when you pull a spoon through. Once you achieve trace you add in your color and scent.
In hot process you'd continue cooking but cold process you then mold your soap and let it sit for 4 - 6 weeks (or one year for pure olive oil soap).
Cold process stays liquid for many hours which is how some soap makers make unique designs and detailed images in their soap.
Hot Process
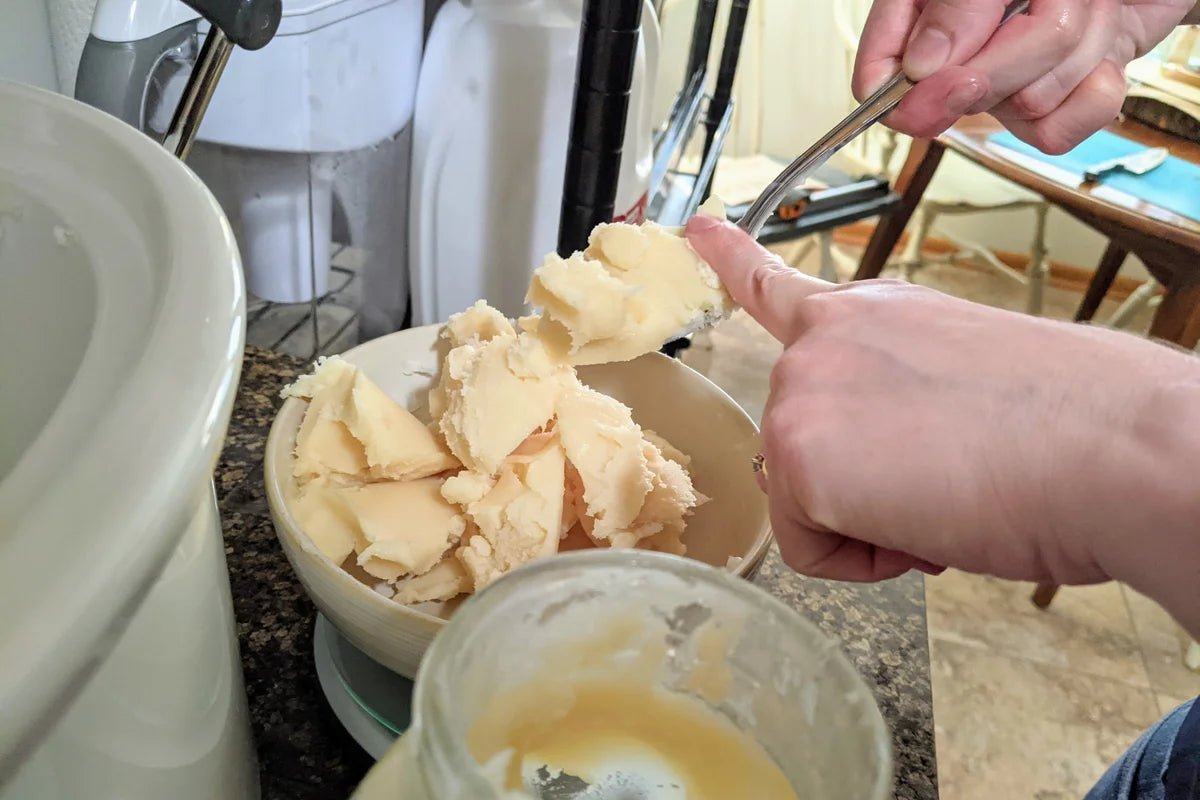
For hot process, once you achieve trace you continue to cook your soap at a low temperature. While cooking, it goes through several stages in the span of 25-45 minutes and ends up a matte waxy texture that we then mold.
This method takes about a week to cure (compared to 4+ weeks), but can be used after a day if you want.
Hot process hardens very quickly when removed from the heat source so you have to work really fast to mold it which doesn't leave much time for artistic designs.
Want to try hot/cold process yourself?
If you want to skip the trial and error of oil blending start with a pre-made base (check brambelberry.com). You'll still get to mix in water + lye yourself, but this is a great way to dip your toe in the water without a large financial or time commitment.
Cold process tutorial
Hot process tutorial
Is Cold Process better than Hot Process?
Not at all. There is no quality difference between the two methods, but there is a visual difference.
Hot process has a matte texture compared to cold process which has a glossy texture, the gloss shows off soap art much better and is easier to sculpt. I chose hot process because it is more true to our goal of old-fashioned lard soap, and the quick cure time allows us to try new things and improve quicker.


